How Do You Write an Effective Method Statement Step by Step?
An effective method statement is written by identifying the specific task, breaking it into sequential steps, assessing the hazards at each step, defining the controls, specifying the resources needed, and getting the document reviewed by the people who will actually perform the work. The best method statements are practical, specific, and concise, not generic templates padded with boilerplate.
Step 1: Define the Scope
Start by clearly defining what the method statement covers:
- Task description: what work is being done (e.g., "Installation of precast concrete panels, Level 3, Zone B")
- Location: where on the project the work will take place
- Duration: expected start and finish dates
- Boundaries: what is included and what is excluded from this method statement
Be specific. A method statement for "concrete works" is too broad to be useful. A method statement for "ground floor slab pour, Section 1, including reinforcement placement, formwork, concrete placement, and finishing" is actionable.
Step 2: Identify the Sequence of Operations
Break the work into a numbered sequence of steps in the order they will be performed:
- Set up exclusion zone and signage
- Inspect formwork for integrity and alignment
- Place reinforcement per structural drawings
- Install cast-in items (sleeves, ferrules, starter bars)
- Request hold point inspection
- Set up concrete pump and line
- Place concrete in lifts, vibrating each lift
- Strike off and finish the surface
- Apply curing compound
- Erect barriers around the finished slab
- Remove formwork after minimum curing period
Each step should be a discrete action that one person or crew can perform. If a step has multiple sub-tasks, break it down further.
Step 3: Identify Hazards at Each Step
For every step in the sequence, identify what could go wrong:
| Step | Hazard |
|---|---|
| Set up exclusion zone | Pedestrian access, vehicle movements |
| Inspect formwork | Working at height (if elevated), unstable formwork |
| Place reinforcement | Manual handling, cuts from rebar, working at height |
| Concrete placement | Contact with wet concrete (burns), pump line whip, noise |
| Surface finishing | Musculoskeletal strain, slips on wet surface |
| Formwork removal | Falling objects, premature removal, structural collapse |
Do not list generic hazards that apply to all construction work (like "slips, trips, and falls") unless they are a genuine specific risk for that step. Focus on the hazards unique to this activity.
Step 4: Define Control Measures
For each hazard, specify the controls that will eliminate or reduce the risk:
- Elimination: can the hazard be removed entirely? (e.g., precast instead of in-situ to avoid formwork at height)
- Substitution: can a less hazardous method be used? (e.g., pump placement instead of crane-and-skip)
- Engineering controls: physical barriers, guardrails, ventilation
- Administrative controls: procedures, signage, supervision, permits
- PPE: personal protective equipment as the last line of defence
Controls must be specific. "Wear appropriate PPE" is not a control. "All personnel within the exclusion zone must wear hard hat, safety glasses, high-visibility vest, steel-capped boots, and long sleeves. Personnel placing concrete must additionally wear chemical-resistant gloves and face shield" is a control.
Step 5: Specify Resources
List everything needed to execute the work:
Personnel
- Roles and minimum numbers (e.g., 1 supervisor, 4 concreters, 1 pump operator, 1 banksman)
- Required qualifications and licences
- Required training or inductions
Plant and Equipment
- Concrete pump type and capacity
- Vibrators (type and quantity)
- Finishing tools
- Formwork removal equipment
Materials
- Concrete grade and specification
- Reinforcement schedule reference
- Curing compound type
- Cast-in items list
Permits
- Any permits required before work commences (e.g., hot work permit if cutting rebar)
Step 6: Add Emergency Procedures
Specify what to do if things go wrong:
- Concrete burn: flush affected skin with clean water for at least 20 minutes, seek medical attention
- Pump line failure: stop pump immediately, clear the area, do not attempt to restart until inspected
- Formwork collapse: evacuate the area, account for all personnel, call emergency services if anyone is trapped
- Medical emergency: nearest first aid kit location, emergency phone number, nearest hospital route
Step 7: Define Quality Requirements
Specify the quality checks and hold points:
- Reinforcement inspection before pour (hold point, work stops until signed off)
- Concrete slump test at point of delivery
- Concrete strength test specimens taken per specification requirements
- Surface finish tolerance per specification
- Curing period and conditions per specification
- Formwork removal criteria (minimum strength achieved)
Reference the relevant specification clauses and drawing numbers.
Step 8: Get It Reviewed
The most important step is review by the right people:
- The workers: the people performing the task often identify practical issues that the author missed
- The supervisor: confirms the sequence is realistic and the resources are available
- The safety team: verifies the hazard identification and controls are adequate
- The client or consultant: for activities requiring their approval before commencement
Review should be a genuine discussion, not a rubber-stamp exercise. If the review identifies issues, update the method statement and re-review.
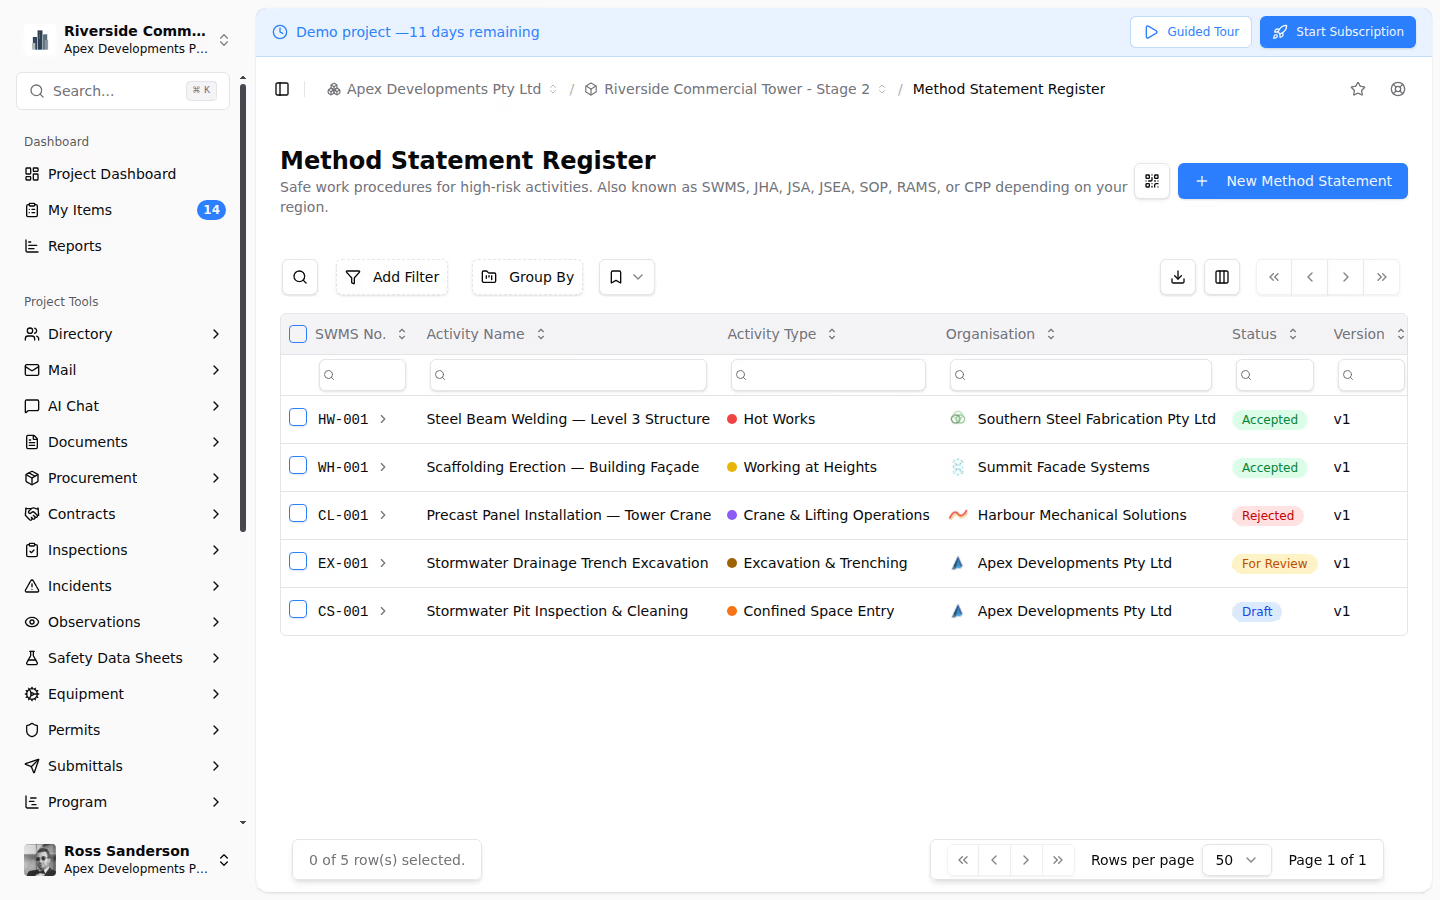
How Teralo Supports Method Statement Creation
Teralo's Quality & Submissions module streamlines the method statement process:
- Structured templates guide authors through each required section, preventing critical elements from being missed
- Approval workflows route the document through reviewers with comment and revision tracking
- Version control maintains full history of every revision
- Digital acknowledgement allows workers to confirm they have read and understood the procedure
- Integration with permits links method statements to the permit-to-work system for high-risk activities
Common Mistakes to Avoid
- Copy-pasting from other projects without adapting to the specific site conditions and scope
- Generic hazards and controls that could apply to any activity on any project
- Overly long documents that nobody reads: keep method statements focused and concise
- No worker consultation: writing the method statement in the office without input from the people who will do the work
- Write and forget: a method statement must be briefed to the workforce, not just filed
- Not updating when conditions change: if the sequence or risks change, the method statement must be revised
Conclusion
Writing an effective method statement is a disciplined process of scope definition, sequencing, hazard identification, control specification, and stakeholder review. A digital platform like Teralo provides the structure, templates, and workflow management to ensure method statements are consistently thorough, properly reviewed, and accessible to every worker who needs them.